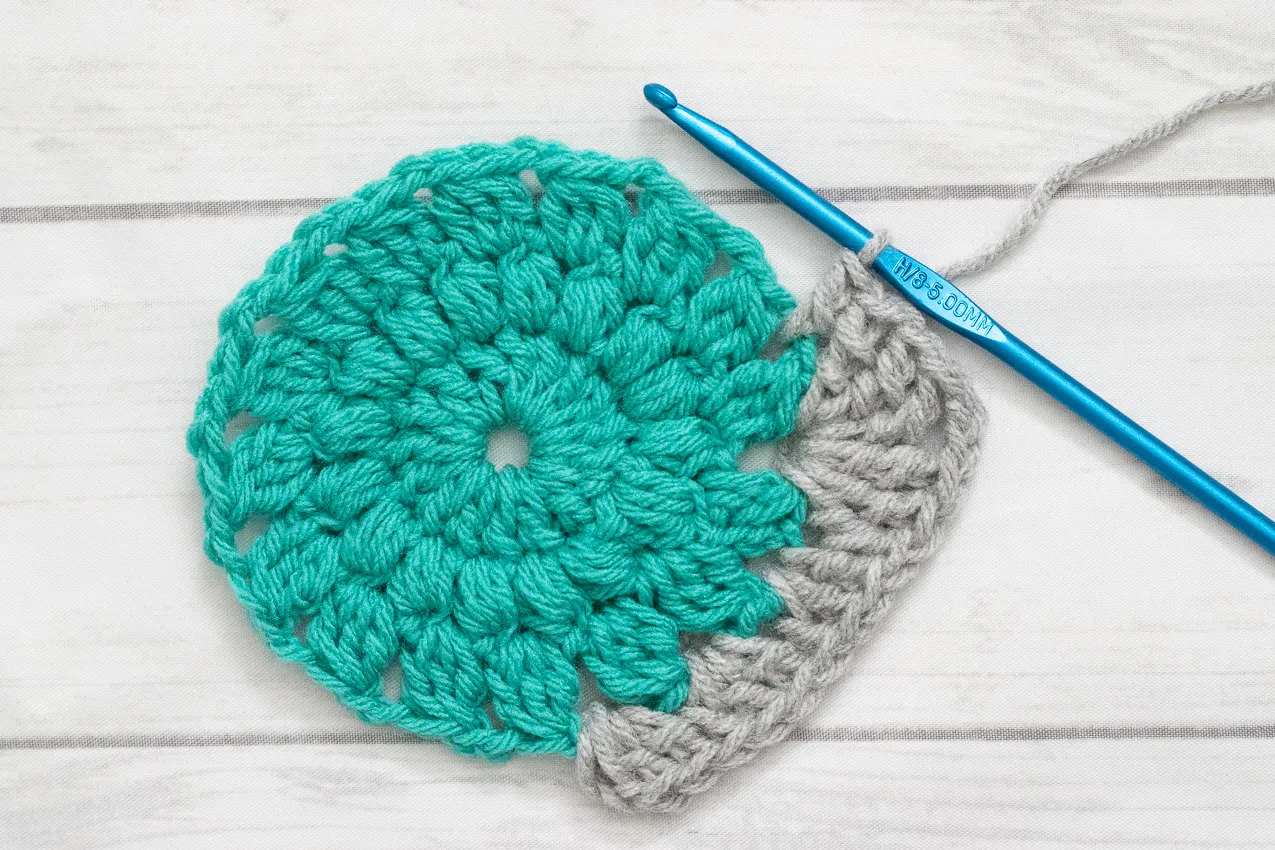
Form the Center Ring
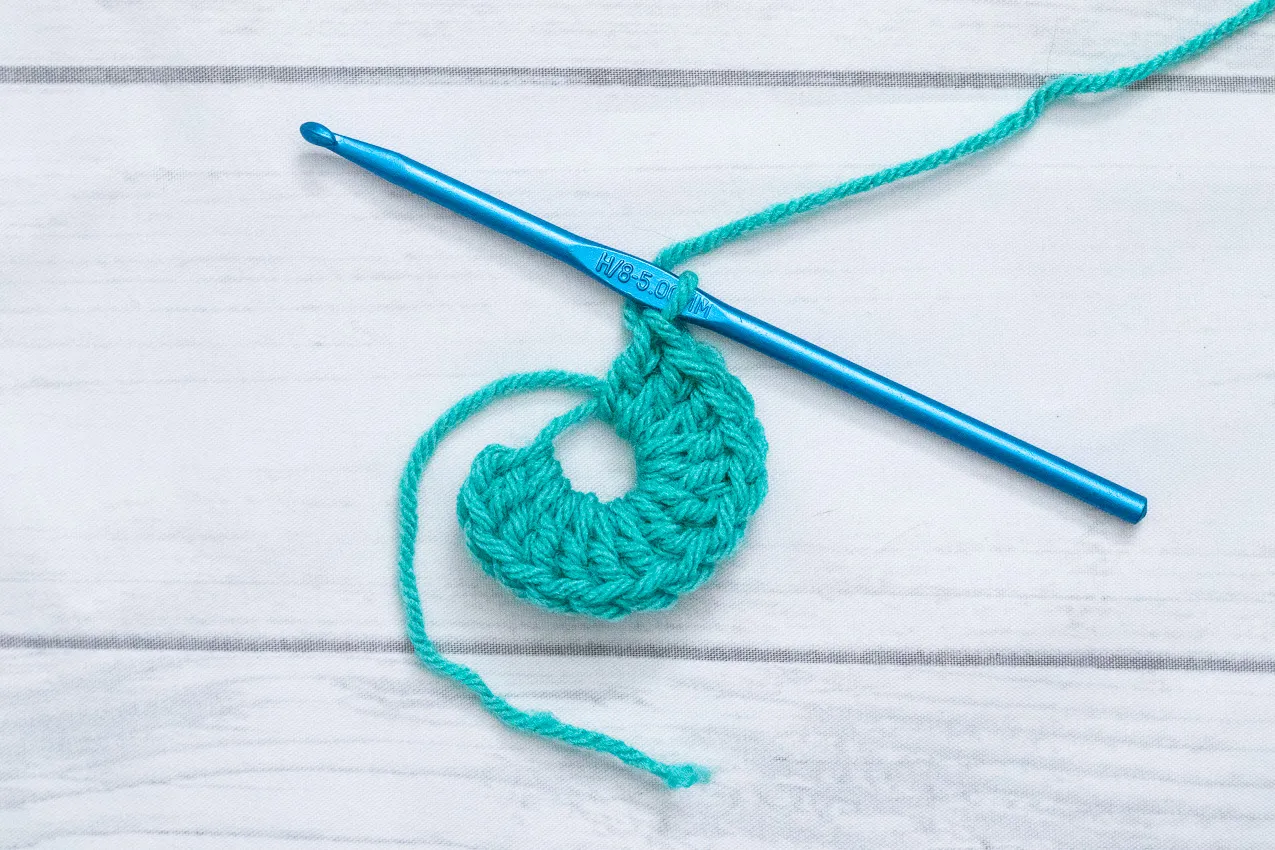
Round 1: Commence by chaining two, which counts as the first double crochet. Proceed to double crochet fifteen times into the center of the ring. To complete the round, employ a slip stitch to connect to the top of the initial chain. (Total: 16 stitches)

Create the First Round
Round 2: Begin with a chain of two. Now, perform a puff stitch into the double crochet, followed by a chain of one. Repeat the puff stitch and chain one sequence fifteen more times. Seal the round by using a slip stitch to connect to the top of the first puff stitch. (Total: 16 puff stitches, 32 stitches in total)
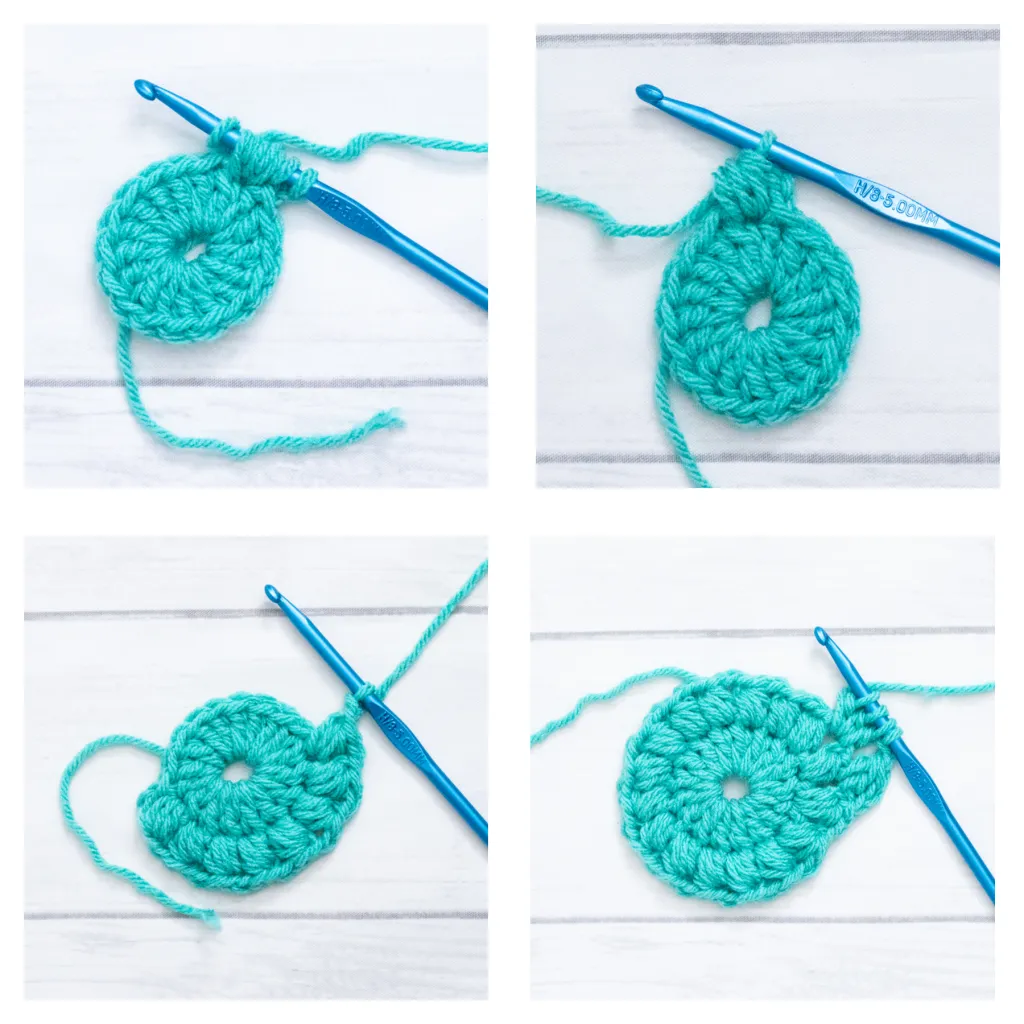
For the puff stitch: Yarn over, insert the hook under the top of the double crochet, yarn over again, and pull through. Repeat this sequence three times (resulting in seven loops on your hook, as seen in the top left panel). Finally, yarn over and pull through all seven loops (as depicted in the top right panel). Conclude the puff stitch with a chain (shown in the bottom left panel).
Dear crochet friend, did you like this pattern and want to see more tips on how to increase your crochet performance? See this suggestion we have separated for you:
Bramble Basket hanging organizer
Round 3: Initiate with a chain of two and turn, signifying the first double crochet. Execute a double crochet two together (dc2tog) in the chain located between the puff stitches. Then, proceed with a chain of one. Repeat the pattern of double crochet three together (dc3tog) in the next chain, followed by another chain of one, fifteen times. Seal the round by joining the first stitch with a slip stitch. (Total: 16 dc3tog clusters) For reference, view the bottom right panel for an illustration of an incomplete dc3tog.
If you intend to change colors, finish off and secure the ends by weaving them in.

Create the Sunburst Design
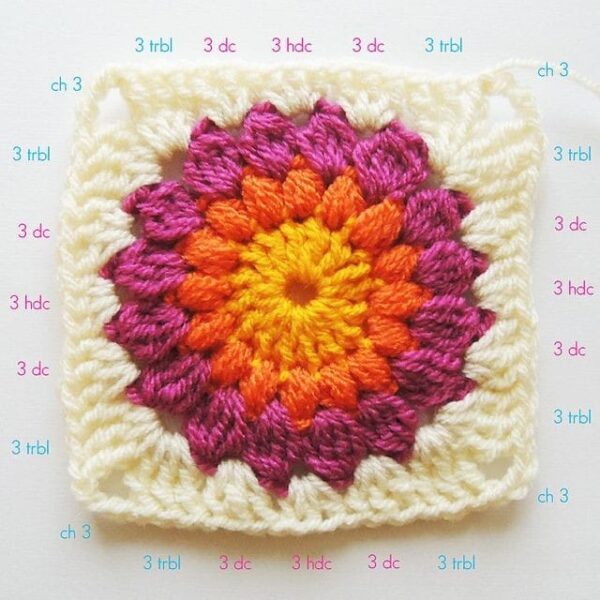
Round 4: To introduce the border color, attach it to the circle at any of the chains between the dc3tog stitches. Begin with a chain of two, which acts as the first double crochet. Proceed to place two double crochets into the same chain. In the subsequent two chain spaces, work three double crochets each. In the next chain space, execute a triple crochet (tr) three times, followed by a chain of two, and then three more triple crochets in the same space.
This constitutes your first corner. Continue the pattern by placing three double crochets in the next three chain spaces, and in the next chain space, execute a triple crochet three times, followed by a chain of two, and then three more triple crochets in the same space. Repeat this sequence three more times. Finally, connect to the top of the starting chain with a slip stitch. Finish off and neatly weave in the ends using a tapestry needle.
Should you wish to expand your square beyond four rounds, simply continue following the pattern established in Round 4. In each subsequent round, the number of sets of three double crochets along each side will increase by one. For instance, in Round 5, there would be four sets of three double crochets along each side. I hope this clarifies the instructions for you!

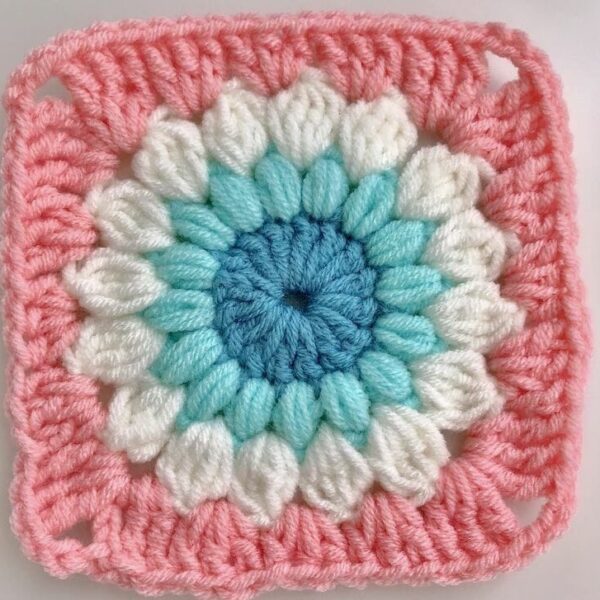
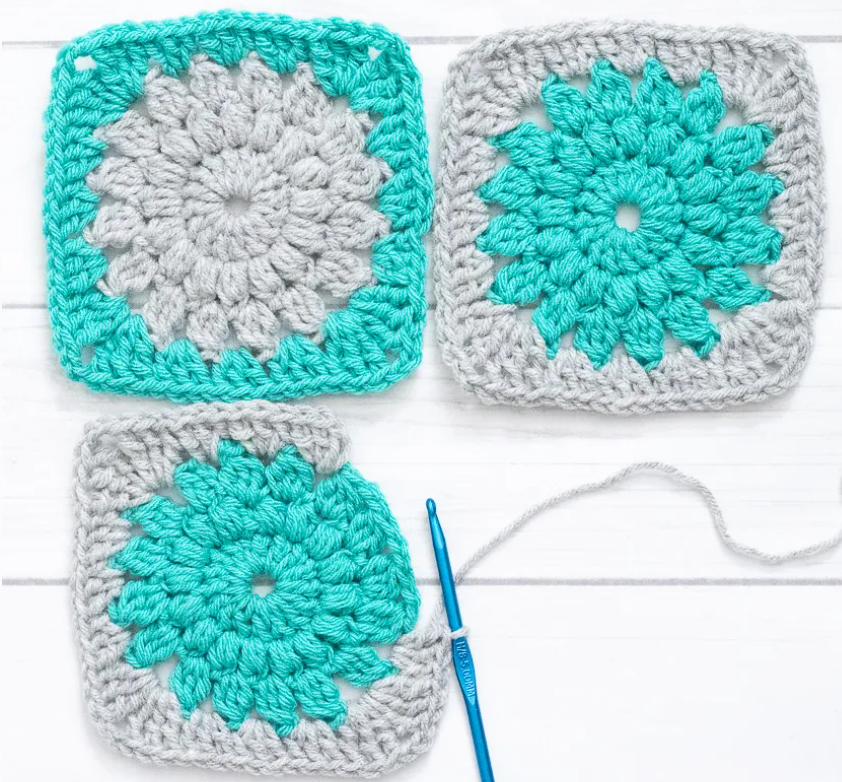
Sunburst Granny Square
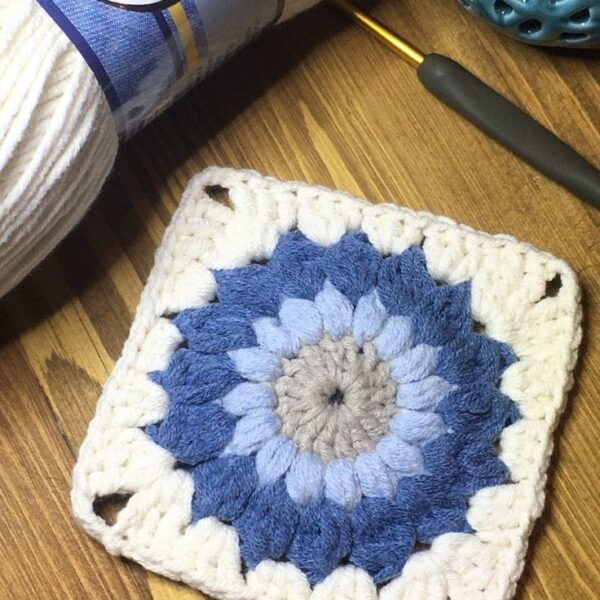
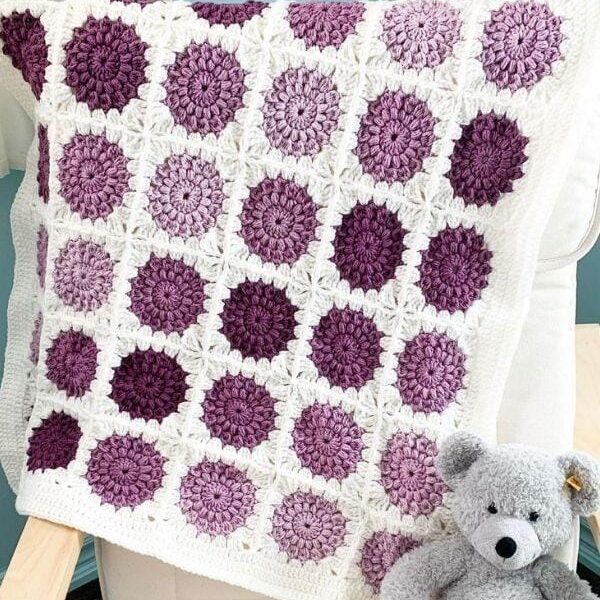
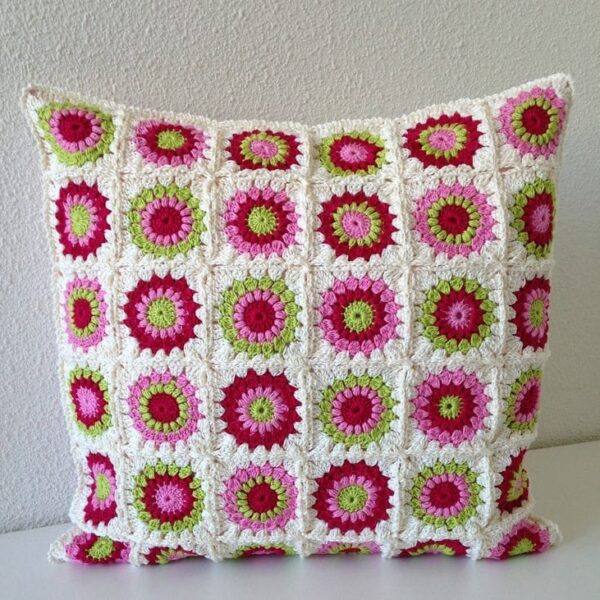
Congratulations! You’ve just created a beautiful Sunburst Granny Square. You can make as many of these squares as you like in various colors and sizes to create stunning crochet projects like blankets, shawls, or even colorful wall art.
Experiment with different color combinations and enjoy the creative process as you bring your own sunshine into your crochet work.

Sunburst Granny Square Diagram
Video Tutorial
Dear crocheter friend, if you learn faster by watching this pattern on video, we recommend the tutorial from the Blossom Crochet channel. you can see the video here below.
Did you like this tutorial and want it in PDF? We’ll help you, see the PDF below to review whenever you want.
Access the PDF/ Sunburst Granny Square
Manual Crafts thanks each of our readers and we hope you make beautiful projects with this tutorial. We wish you all a great day, and whenever you want to review our tutorials, you’re most welcome!
