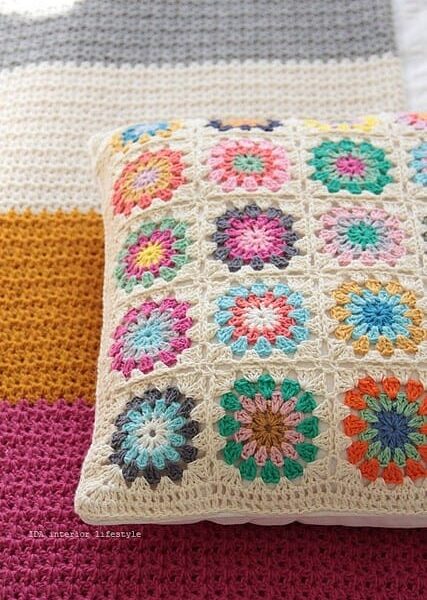
Dear crochet friend, did you like this pattern and want to see more tips on how to increase your crochet performance? See this suggestion we have separated for you:
Crochet Stitches for Beginners
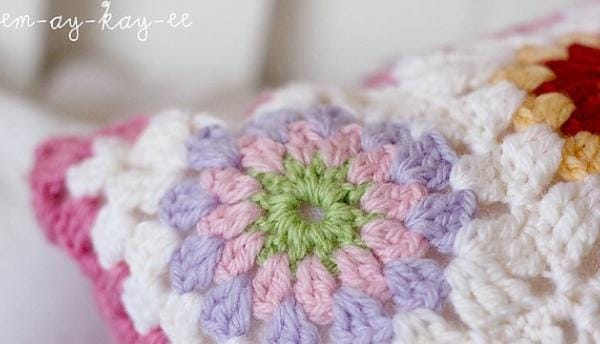
SECOND MOTIF (joining across one side)
Create the second motif following the same pattern as the First Motif. While completing round 4, replace the ch-1 spaces on the side to be joined with single crochets (sc) in the corresponding ch-1 space(s) on the preceding motif(s), following the assembly diagram for proper placement. Fasten off.
BORDER
Round 1: With the right side facing, join Color A with a slip stitch in any corner ch-1 space. Chain 1, then work 2 sc in the corner ch-1 space, and sc in each stitch and space across. Repeat this pattern around and join with a slip stitch in the first sc. This round will result in 56 sc on each side.
Round 2: Chain 1, then work 2 sc in each sc, and sc in each sc up to the next corner. Repeat this pattern around and join with a slip stitch in the first sc.
Round 3: Chain 1, sc in the first sc, work 2 sc in the next sc, and sc in each sc up to the next corner. Repeat this pattern around and join with a slip stitch in the first sc. Fasten off.
FINISHING
Using a sewing needle and matching thread, sew the pillow cover to the top of the pillow.

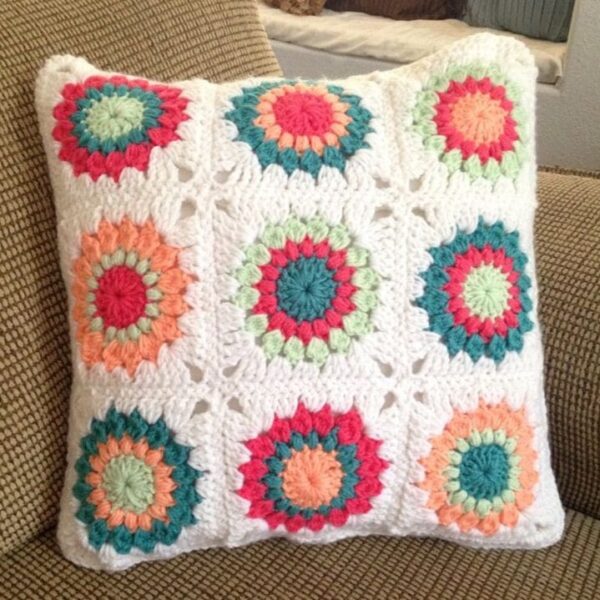
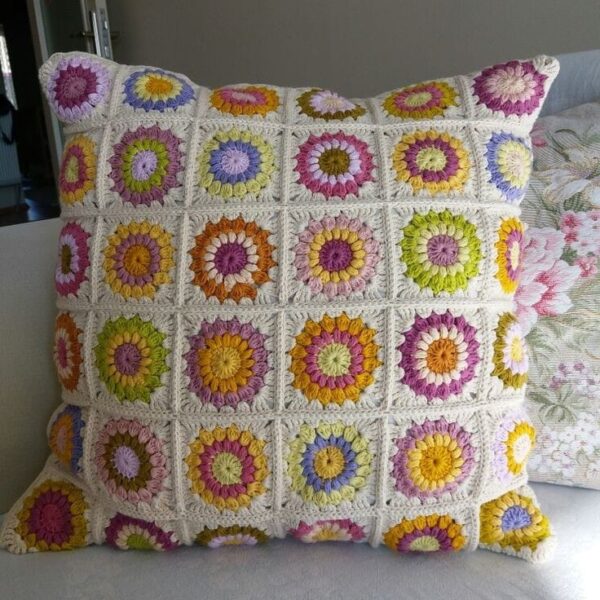
Wonderful Crochet Pillow
Congratulations! You’ve successfully crocheted a pillow cover. Feel free to experiment with different stitch patterns, color changes, and embellishments to create a unique pillow that matches your style.
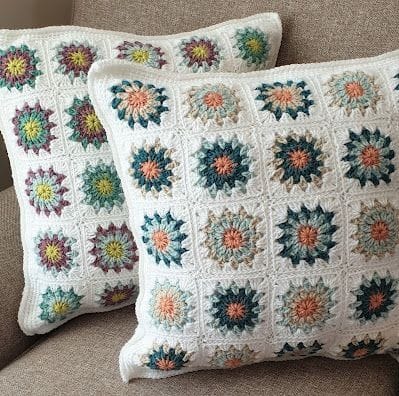
Dear crochet friend, if you liked this pattern, let’s suggest a PDF made by Yarnspirations.com.
Access the PDF/ RED HEART COPENHAGEN PILLOW
Remember, practice makes perfect, so don’t be discouraged if your first attempt isn’t perfect. With time and experience, your crocheting skills will improve, and you’ll be able to create even more intricate and beautiful projects. Enjoy your new crochet pillow!