Babie Giraffes Amigurumi Pattern
Abbreviations
st(s) – stitch(es)
ch – chain stitch
sc – single crochet
sp – space
inc’d – increased
Pattern Instructions
Row 1: Start with a magic circle. Work 2 sc, ch 2, 2 sc into the magic circle. Pull tight, but DO NOT JOIN. Turn. (4 sc + ch-2 sp)
Row 2: Ch 1, sc in first st, ch 1, (sc, ch2, sc) in ch-2 sp, ch 1, sc in last st. Turn. (6 – ch-1 counts as st, + ch-2 sp)
Row 3: Ch 1, sc in first st, ch 1, sc in ch-1 sp, ch 1, (sc, ch 2, sc) in ch-2 sp, ch 1, sc in ch-1 sp, ch 1, sc in last st. (10 + ch-2 sp)
Row 4: Ch 1, sc in first st, ch 1, (sc in ch-1 sp, ch 1) until ch-2 sp, (sc, ch 2, sc) in ch-2 sp, (ch 1, sc in ch-1 sp) until 1 st remains, ch 1, sc in last st. (4 sts inc’d on each row)
Repeat Row 4 until desired size.

image by One Dog Woof Logo
Hanging loop lines:
Row 1: Ch 1, sc in first st, ch 1, (sc in ch-1 sp, ch 1) until ch-2 sp, (sc, ch 10 , sc) in ch-2 sp, (ch 1, sc in ch-1 sp) until 1 st remains, ch 1, sc in last st.
Row 2: Ch 1, sc in first st, ch 1, (sc in ch-1 sp, ch 1) until ch-2 sp, work 12-14 sc around the loop ch sts, (ch 1, sc in ch-1 sp) until 1 st remains, ch 1, sc in last st
Trim the thread, leaving a tail that’s twice the length of the triangle’s base. Press it down.
Fasten the starting end to the magic circle by tying a knot and then sew it securely at both ends.

image by One Dog Woof Logo
Arrange as follows:
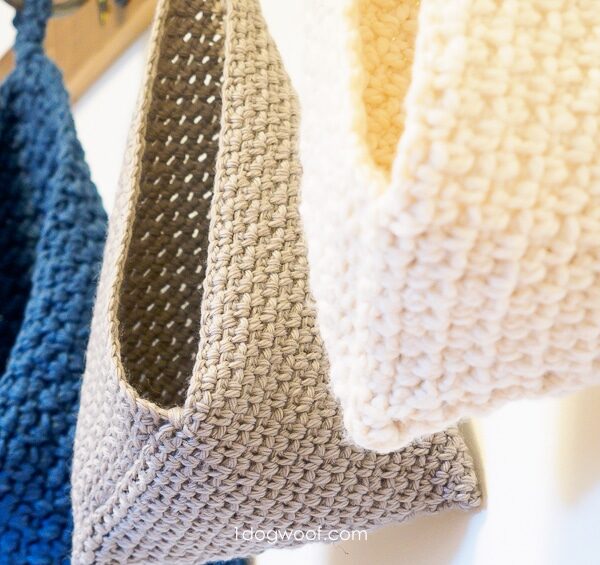
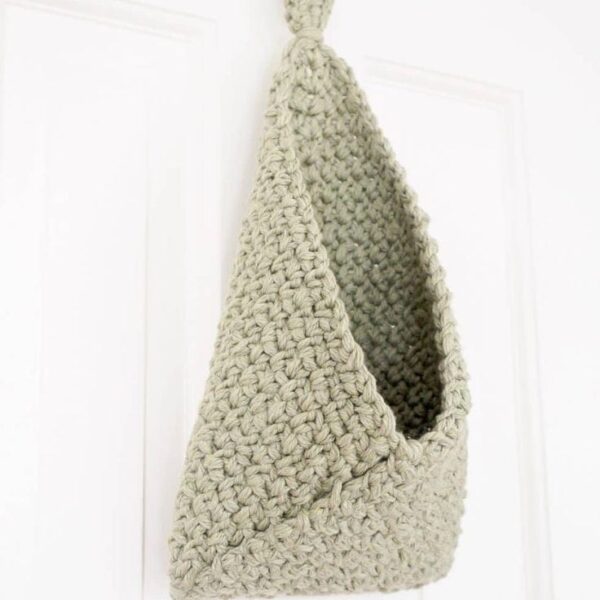
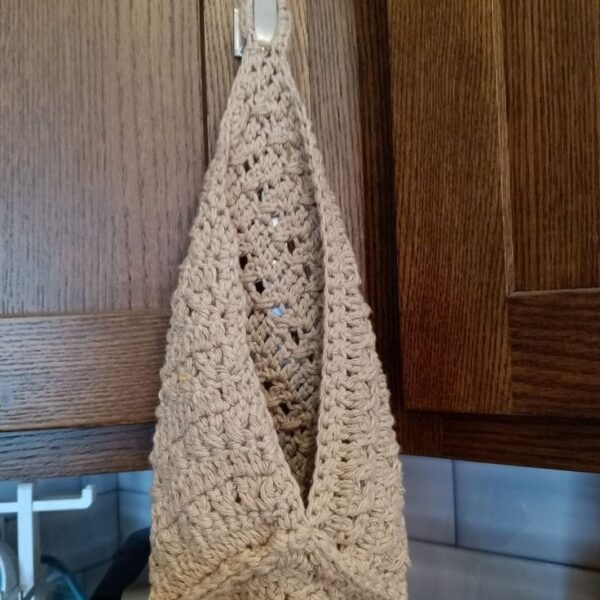
Starting with the tip on the left, fold the corners of the triangle inward, dividing each corner into thirds. The right corner should be folded over the left corner. Once folded, the remaining tail should be situated on the right side, just below the fold of the right corner.
Thread the tail onto a tapestry needle. Utilize a whip stitch to secure the bottom of the triangle, ensuring that you pass the needle through all the layers/folds to firmly secure the base.
Once you reach the left corner, employ a running stitch to gently fasten the right fold to the basket’s body. Consider adding a few additional stitches at the junction of the two folds for added strength.
Near the loop, you have the option to leave it as it is or enhance it by wrapping a strand of yarn around the loop’s base, creating a tassel-like effect.

image by One Dog Woof Logo
Credits to the One Dog Woof Logo page for inspiring us with this beautiful pattern
For those who prefer PDF tutorials, we’ve got you covered. You can see this tutorial in PDF here below:
Access the PDF/ Bramble Basket hanging organizer
Conclusion
The Bramble Basket Hanging Organizer is more than just a crochet pattern; It is a versatile, functional and aesthetically pleasing addition to any home. Whether you’re a beginner looking to explore the world of crochet or an experienced crafter looking for a quick and satisfying project, Bramble Basket offers endless creative possibilities.
