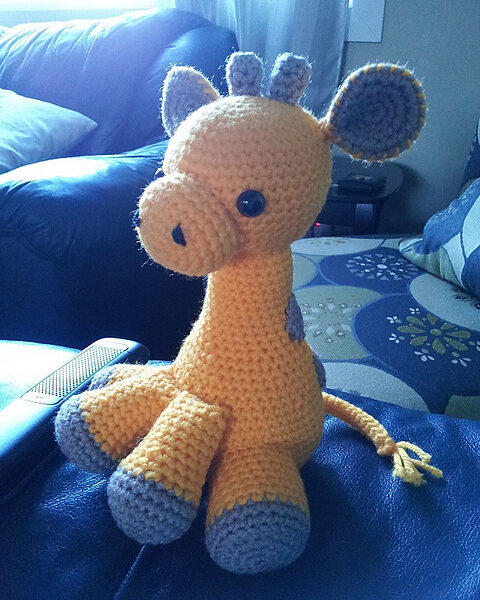
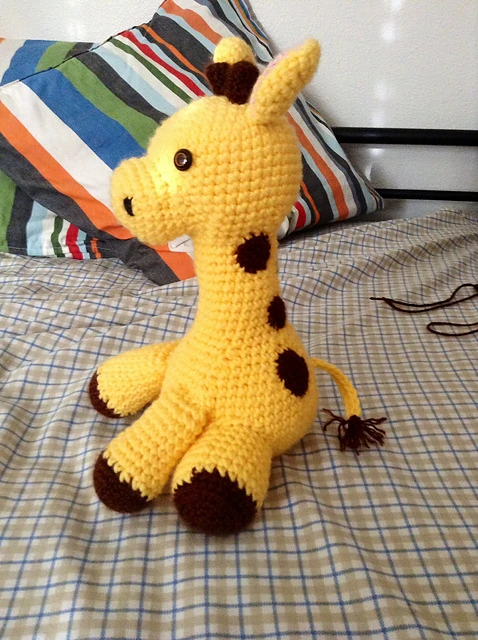
Ears (Make 2 of each color, then sew them together):
Start with a CH 2 or MR, whichever you prefer.
Make 6 SC in the ring.
Increase in every SC (12).
[SC, inc] around (18).
[2 SC, inc] around (24).
Fasten off (FO) and leave a long tail for sewing. Sew two colors together using a whip stitch, then pinch at the ends to sew to the side of the head.
Horns (Make 2):
Start with a CH 2 or MR, whichever you prefer.
Make 6 SC in the ring.
SC in each stitch around 3 times (6).
Fasten off (FO) and leave a tail for sewing.
Legs (Make 2, for back legs):
Start with a CH 2 or MR, whichever you prefer.
Make 6 SC in the ring.
Increase in every SC (12).
[SC, inc] around (18).
[2 SC, inc] around (24).
Work BLO SC around once (24).
SC in both loops around (24).
Change color.
SC in both loops around 7 times (24).
Fasten off (FO) and leave a long tail for sewing.
Arms (Make 2):
Start with a CH 2 or MR, whichever you prefer.
Make 6 SC in the ring.
Increase in every SC (12).
[SC, inc] around (18).
[2 SC, inc] around (24).
SC in each stitch around 2 times (24).
Change color.
[2 SC, dec] around (18).
SC in each stitch around once (18).
[4 SC, dec] around (15).
SC in each stitch around 5 times (15).
[3 SC, dec] around (12).
SC in each stitch around once (12).
Fasten off (FO) and leave a tail for sewing. Pinch the arm flat and sew along the seams before sewing to the body.
Spots:
Start with a CH 2 or MR, whichever you prefer.
Make 6 SC in the ring.
Increase in every SC (12).
Fasten off (FO) and leave a long tail for sewing.
Tail:
Chain 21.
Make 1 SC in the 2nd chain from the hook and in each chain across for a total of 20 SC.
Chain 1 and turn.

Babie Giraffes Amigurumi Pattern
For those who prefer PDF tutorials, we’ve got you covered. The Tutorial was created by ravelry.com
Access the pattern/ Baby Giraffe Amigurumi
We at Manual Crafts would like to thank each one of you for the affection and trust received. Besides, of course, wishing much peace, health and prosperity and not forgetting, many patterns to inspire us on a daily basis.


